How to Set Up an Expense Reimbursement Process for a Small Business
By Gaurav Sharma · 15 October 2026 · 6 min read
In short
- A simple expense reimbursement process needs five things: a written policy on what is covered, a single place to submit claims with receipts, a named approver, a fixed payment schedule, and a monthly review. Submit claims within a set window, tag them to projects, and give a reason whenever a claim is rejected.
Neha paid ₹1,240 for a cab to a client meeting in March. She kept the receipt in her bag, sent a photo to the founder on WhatsApp in April, and was reminded in May that "accounts needs it in the sheet". She was paid in June.
It is a small amount. But after a few experiences like that, people stop claiming small expenses at all, or they stop offering to pay for things the business actually needs.
Most small businesses do not have an expense problem. They have a process problem. Claims arrive in different formats, through different channels, and nobody is sure who should approve them or when they get paid.
A clear expense reimbursement process fixes that without adding bureaucracy. Here is how to set one up for a small team or agency.
What Is an Expense Reimbursement Process?
An expense reimbursement process is the agreed path from "I paid for something for work" to "the money is back in my account". It covers what can be claimed, how claims are submitted, who approves them, and when they are paid.
It sits inside the wider practice of expense management, which also includes company cards, vendor payments and budgeting. For a small team, though, the reimbursement part is usually where the friction lives.
Where Reimbursements Usually Go Wrong
Nobody Knows What Is Covered
Is a team lunch after a launch reimbursable? What about a phone recharge, or an Uber home after a late night? Without a written policy, every claim becomes a judgement call, and different managers make different calls.
Receipts Get Lost
Paper receipts fade, get thrown away or sit in a wallet for weeks. By the time someone asks for one, it is gone, and the claim either gets rejected or approved on trust.
Claims Arrive Everywhere
Some people send photos on WhatsApp, some email finance, some add rows to a shared sheet. Finance spends hours collecting claims before they can even start checking them.
Approvals Stall
The claim sits with a manager who is travelling, busy or unsure whether they are supposed to approve it. Nobody follows up, and the employee does not want to look petty by chasing ₹800.
Costs Are Not Linked to Projects
For agencies, this one hurts later. If travel and software costs are not tagged to a client project, you cannot tell which projects are actually profitable.
How to Set Up an Expense Reimbursement Process
1. Write a One-Page Expense Policy
List what is covered and what is not, with examples. Travel to client meetings, project software, printing for pitches and client entertainment within a limit are typical. Personal travel, fines and anything without a receipt are typical exclusions.
Add per-category limits where they matter, such as a daily food allowance on work trips, and say who can approve anything above them.
2. Set a Submission Window
Ask people to submit claims within 30 days, or by the last working day of the month. A fixed window keeps receipts from getting lost and keeps your monthly accounts clean.
3. Use One Place for Claims
Pick a single place where every claim goes, with the same fields every time: date, amount, category, description, project and receipt. It does not matter much whether that is a form or a tool, as long as nothing arrives through side channels.
A good claim reads like this: 14 Oct, ₹1,240, Travel, cab to and from the Kaveri Foods office for the campaign review, project: Kaveri Diwali 2026, receipt attached. Anyone checking it later can tell what it was for, which client it belongs to and whether it fits the policy, without sending a single follow-up message.
If a claim arrives on WhatsApp anyway, reply with a link to the right place instead of entering it yourself. It feels slower the first few times, and then it stops happening.
4. Require Receipts, With a Small Exception
Make a photo of the receipt mandatory. For genuine cases with no receipt, such as an auto fare, allow a short written note below a small limit. Decide the limit in advance so nobody has to argue about it.
5. Name the Approver
Each claim should have one approver, usually the employee's lead or the project owner, with a director or finance approving amounts above a set threshold. Agree how quickly approvers should respond, such as within three working days.
6. Always Give a Reason for Rejections
If a claim is rejected, the approver should say why: missing receipt, outside the policy, already claimed. It turns a frustrating "no" into something the employee can fix or at least understand.
7. Pay on a Fixed Schedule
Pay approved claims on fixed dates, such as with the monthly salary or on the 15th and the last day of the month. Predictability matters more than speed. People can plan around a date they trust.
8. Review Monthly
Once a month, look at total claims by category and by project. You will spot unusual spending, recurring costs that should move to a company card, and projects that are quietly costing more than planned.
A Simple Expense Reimbursement Process Flow
Put together, the process for a single claim looks like this:
Spend → Submit with receipt → Approve or reject with reason → Pay on the next payout date → Review monthly
Five steps, one place, one approver. That is enough for most teams under fifty people.
If your team also struggles to keep track of project work alongside costs, our guide to managing multiple client projects covers how to keep both visible in one place.
When to Use a Company Card Instead
Reimbursement works well for occasional, unpredictable costs. It works badly for things that happen every month, like design software subscriptions, stock image plans or a regular courier account.
If the same person claims the same expense every month, move it to a company card or a direct vendor payment. It saves the employee from fronting the money, and it saves your approver from reviewing the same ₹2,000 subscription twelve times a year.
A simple rule of thumb: if you can predict the expense, the company should pay it directly. If you cannot, reimburse it.
Common Mistakes to Avoid
Approving on trust without receipts. It feels friendly until the year-end accounts do not add up, and then it feels unfair to everyone who did keep their receipts.
Letting claims pile up for a quarter. Large, late batches are harder to check and harder to pay. Monthly windows keep the numbers small.
Making the approver the bottleneck. If one director approves every claim, everything waits for their calendar. Let leads approve within a limit.
Rejecting without explaining. A silent rejection usually turns into a long chat thread. A one-line reason prevents it.
Treating reimbursements as a favour. Paying people back promptly is part of treating them fairly. Late reimbursements quietly erode trust.
Approval delays on expenses look a lot like approval delays on client work, and the fixes are similar. Our guide to building a client approval process covers the same ideas: one named approver, a clear deadline and a written reason for every no.
Expense Policy Checklist
What is covered, with examples
What is not covered
Limits per category and who approves above them
Submission window
Receipt rules and the no-receipt exception
Approval timeline
Payment dates
What happens to late or rejected claims
How OnGrid Handles Expenses
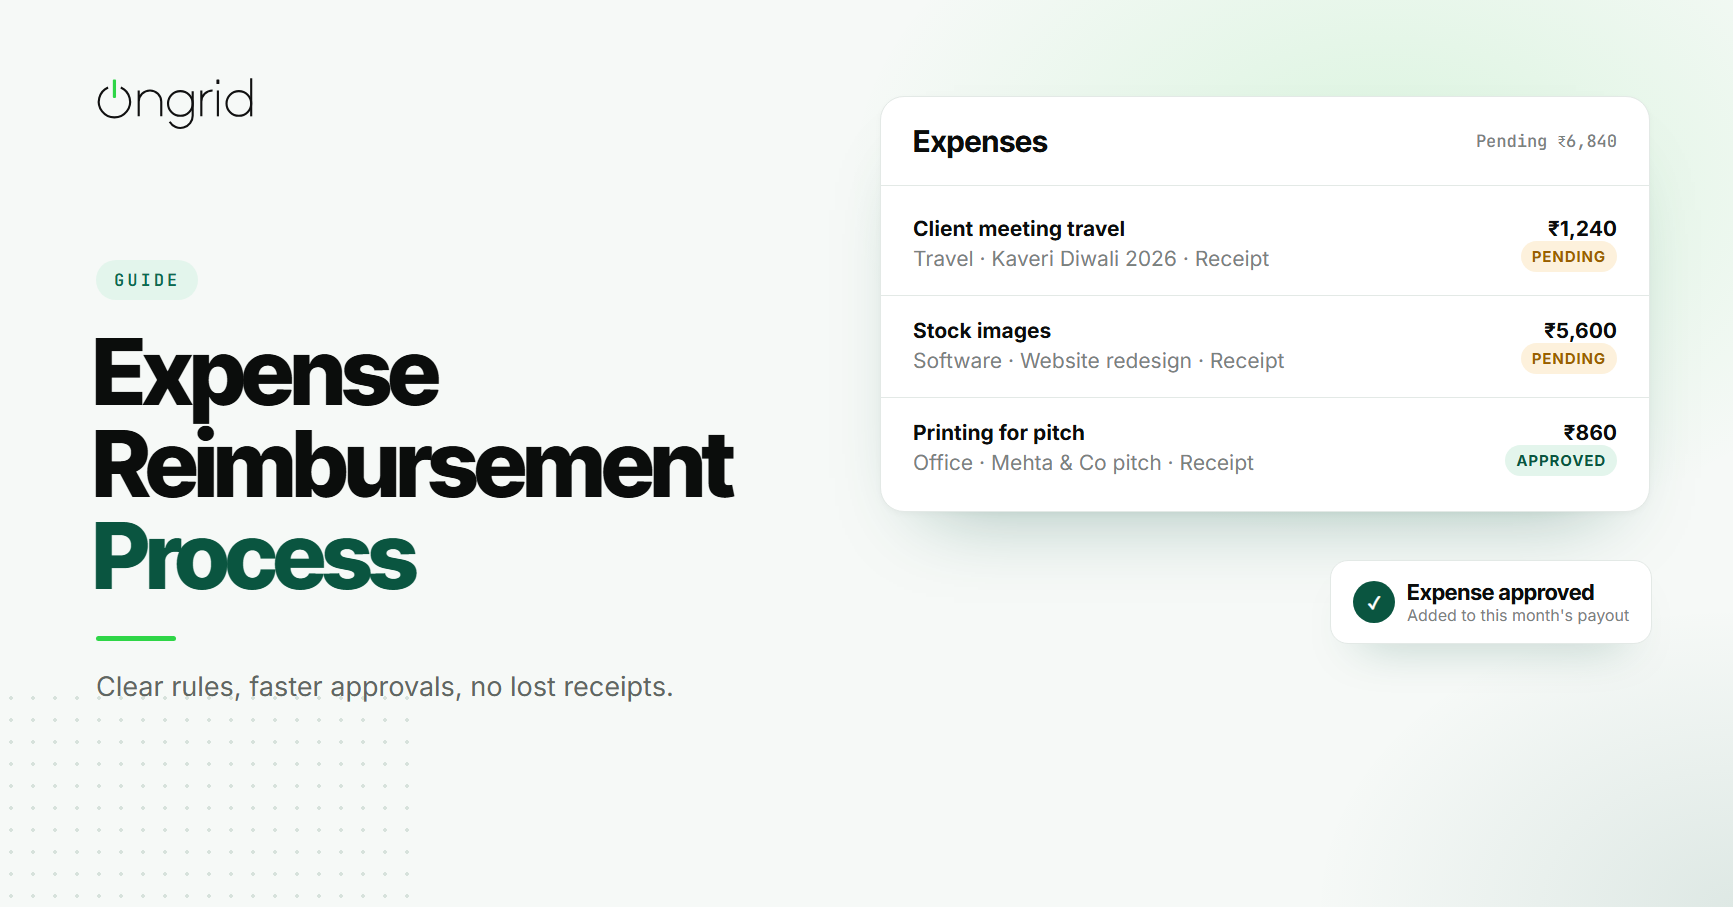
In OnGrid, expenses are logged against the project they belong to, with a category, amount, date, description and an uploaded receipt. When the expense is ready, the employee submits it for approval.
Approvers can approve or reject each expense, and a rejected expense carries the rejection reason so the employee knows what to fix. The Expenses page brings together claims across every project you can see, with filters for project, category, submitter and date, and a running total of the amount still pending approval.
Because expenses sit inside projects, you can see what each client project is costing alongside its tasks and files, instead of reconciling a separate spreadsheet at the end of the month.
Final Thoughts
A good expense reimbursement process is mostly about removing doubt. People should know what they can claim, where to submit it, who will approve it and when they will be paid.
Write a one-page policy, use one place for claims, ask for receipts, give reasons for rejections and pay on fixed dates.
Do that, and your team will stop carrying old receipts around in their wallets, and stop quietly absorbing costs that the business should be paying.
Frequently asked questions
1. What is an expense reimbursement process?
It is the set of steps an employee follows to get repaid for money they spent on company work, from submitting the claim and receipt to approval and payment.
2. How long should employees have to submit expense claims?
A common rule is within 30 days of the expense, or by the end of the month it was incurred. Shorter windows mean fewer lost receipts and cleaner monthly accounts.
3. Who should approve employee expenses?
Usually the employee's manager or the project lead, with finance or a director approving anything above a set limit. One named approver per claim avoids delays.
4. How often should a small business pay reimbursements?
Once or twice a month on fixed dates works for most small teams. A predictable schedule matters more than speed, because people plan around it.
5. What should happen when an expense claim is rejected?
The approver should give a short written reason, such as a missing receipt or an expense outside the policy, so the employee can fix and resubmit it or understand why it will not be paid.